HOW TO LOOK PHOTO READY!
It’s 2026 and makeup trends have come a long way since I started in 2013. From Anastasia Beverly Hills DIPBROW harsh brows (guilty as charged!) to lips more matte and drier than sandpaper…and let’s not forget the crazy eye trends like cut creases and razor sharp winged liner…thank God makeup has taken a drastic turn in the opposite direction! I have noticed ladies are more focused on glowy, bronzed/blushy skin, soft natural brows and eyes and full, glossy lips. Although makeup trends have changed and TikTok has given women confidence in doing their own makeup, it is STILL important to seek out a PROFESSIONAL makeup and hair artist when scheduling professional photos, ESPECIALLY wedding photos! The decision to hire a professional photographer is a great investment in capturing timeless, once-in-a-lifetime moments. Just as you would pay for photos, you should also pay a professional makeup and hair artist. I know some of you might say that you don’t wear makeup or style your hair and that you want to look like yourself. Some might even say that “you’re capable of applying your own makeup and styling your own hair.” While all of that might be your truth, there is a significant difference in everyday makeup and makeup for photos. Also, a hair artist will devote time and detail to styling your hair to make sure it holds throughout photos. Here are a list of essential steps that a professional makeup and hair artist will take when preparing you for professional photos…it’s also a limited cheat sheet if you absolutely can’t afford to hire an artist:
Prep Your Skin! You can’t expect a flawless finish without prepping your skin first! Moisturize (regardless of skin type) and show your face some love with a mini face massage! This will get the blood flowing in your face and help drain any puffiness. I am also a big advocate for removing the peach fuzz most women have on their face. The makeup sticks 100x better because it’s clinging to your skin first instead of all those hairs. Primer is also a must if you have big pores and your skin is unusually oily.
Show Those Brows Some Love!
Your eyebrows are the frame of your face and should be given attention to, even if you don’t normally do it. This especially applies to women with sparse, thin, or blonde eyebrows. My favorite products are tinted brow gels and micro brow pencils (to fill in where needed)…they work wonders and make brows look neat and subtle. If pencils scare you or your brows are dark enough, a clear brow gel will work just fine. This step alone will add life to your face and brings the focus to your eyes in photos.Add False Lashes…for FULLNESS!
Don’t let the term “false lashes” scare you! Most women don’t wear them on a daily basis and are intimidated because of a previous bad experience, some people’s overemphasized use of them, or horror stories they’ve heard. The correct use of lashes SHOULD brighten and open up your eyes. The goal is to add fullness, not necessarily length. My favorite use of lashes is to use small clusters with BLACK glue to customize the look according to the client’s eye shape. Strip lashes don’t work on every eye shape…white glue doesn’t always dry down transparent and can create a weird cast on the lashes. Not to mention lashes are one of the most difficult things to apply yourself and mascara just doesn’t translate the same in photos. This is reason enough to hire a professional!Use Eyeliner Sparingly!
In photos you want your eyes to look open and bright, dark eyeliner encompassing your whole eye will do the opposite, especially if you have small or hooded eyes. Stick with just the top or just the outer corners. My favorite way to “line” the eyes is to use a matte brown/dark brown eyeshadow…it’s softer, especially with lashes added…less is more!Wear Lip Color!
There is nothing worse than bare lips in photos. You need either some shine or color or both! This is especially true if you have thin or small lips. There are so many different types of lip products out now, so anything with a gloss and tint works wonders. The shine will give the illusion of soft, fuller lips that translate great in photos. My favorite lip products are tinted lip oils and glosses. When I want a more saturated color, I love the lip color pencils by Ilia. They double as a lip color with a satin finish and a lip liner and a gloss on top is chef’s kiss!Apply Your Base With Intention! This is a long one, but the most important. Do this step after you have done your eyes. Whenever I apply makeup, I give the skin prep a chance to settle in while I do the eyes. This order also allows me the freedom to do the eyes without worrying about messing up the base. My favorite way to apply the base is with a dense, buffing brush. This ensures even coverage, which you’ll need in photos. If you have blemished skin/hyperpigmentation scarring, you will need to layer the base to get the coverage you need along with use of concealer. I say “base” because foundation isn’t always necessary. Skin tints and concealers work just as well especially if you’re a minimalist and like the feel of less makeup on your face.
Make sure your base matches your neck and chest PLEASE and don’t use a matte finish unless you are unusually oily. The worse combo is a base that’s too light AND too matte, you will instantly looker 10-20 years older and accentuate every fine line on your face. The camera washes out blush and bronzer easily so these need to be applied heavier than you would for everyday. For the best results, apply a cream bronzer and blush first, then set them with a powder bronzer and blush to ensure they are strong enough to be translate on camera.Create A Relaxed, Lasting Hairstyle!
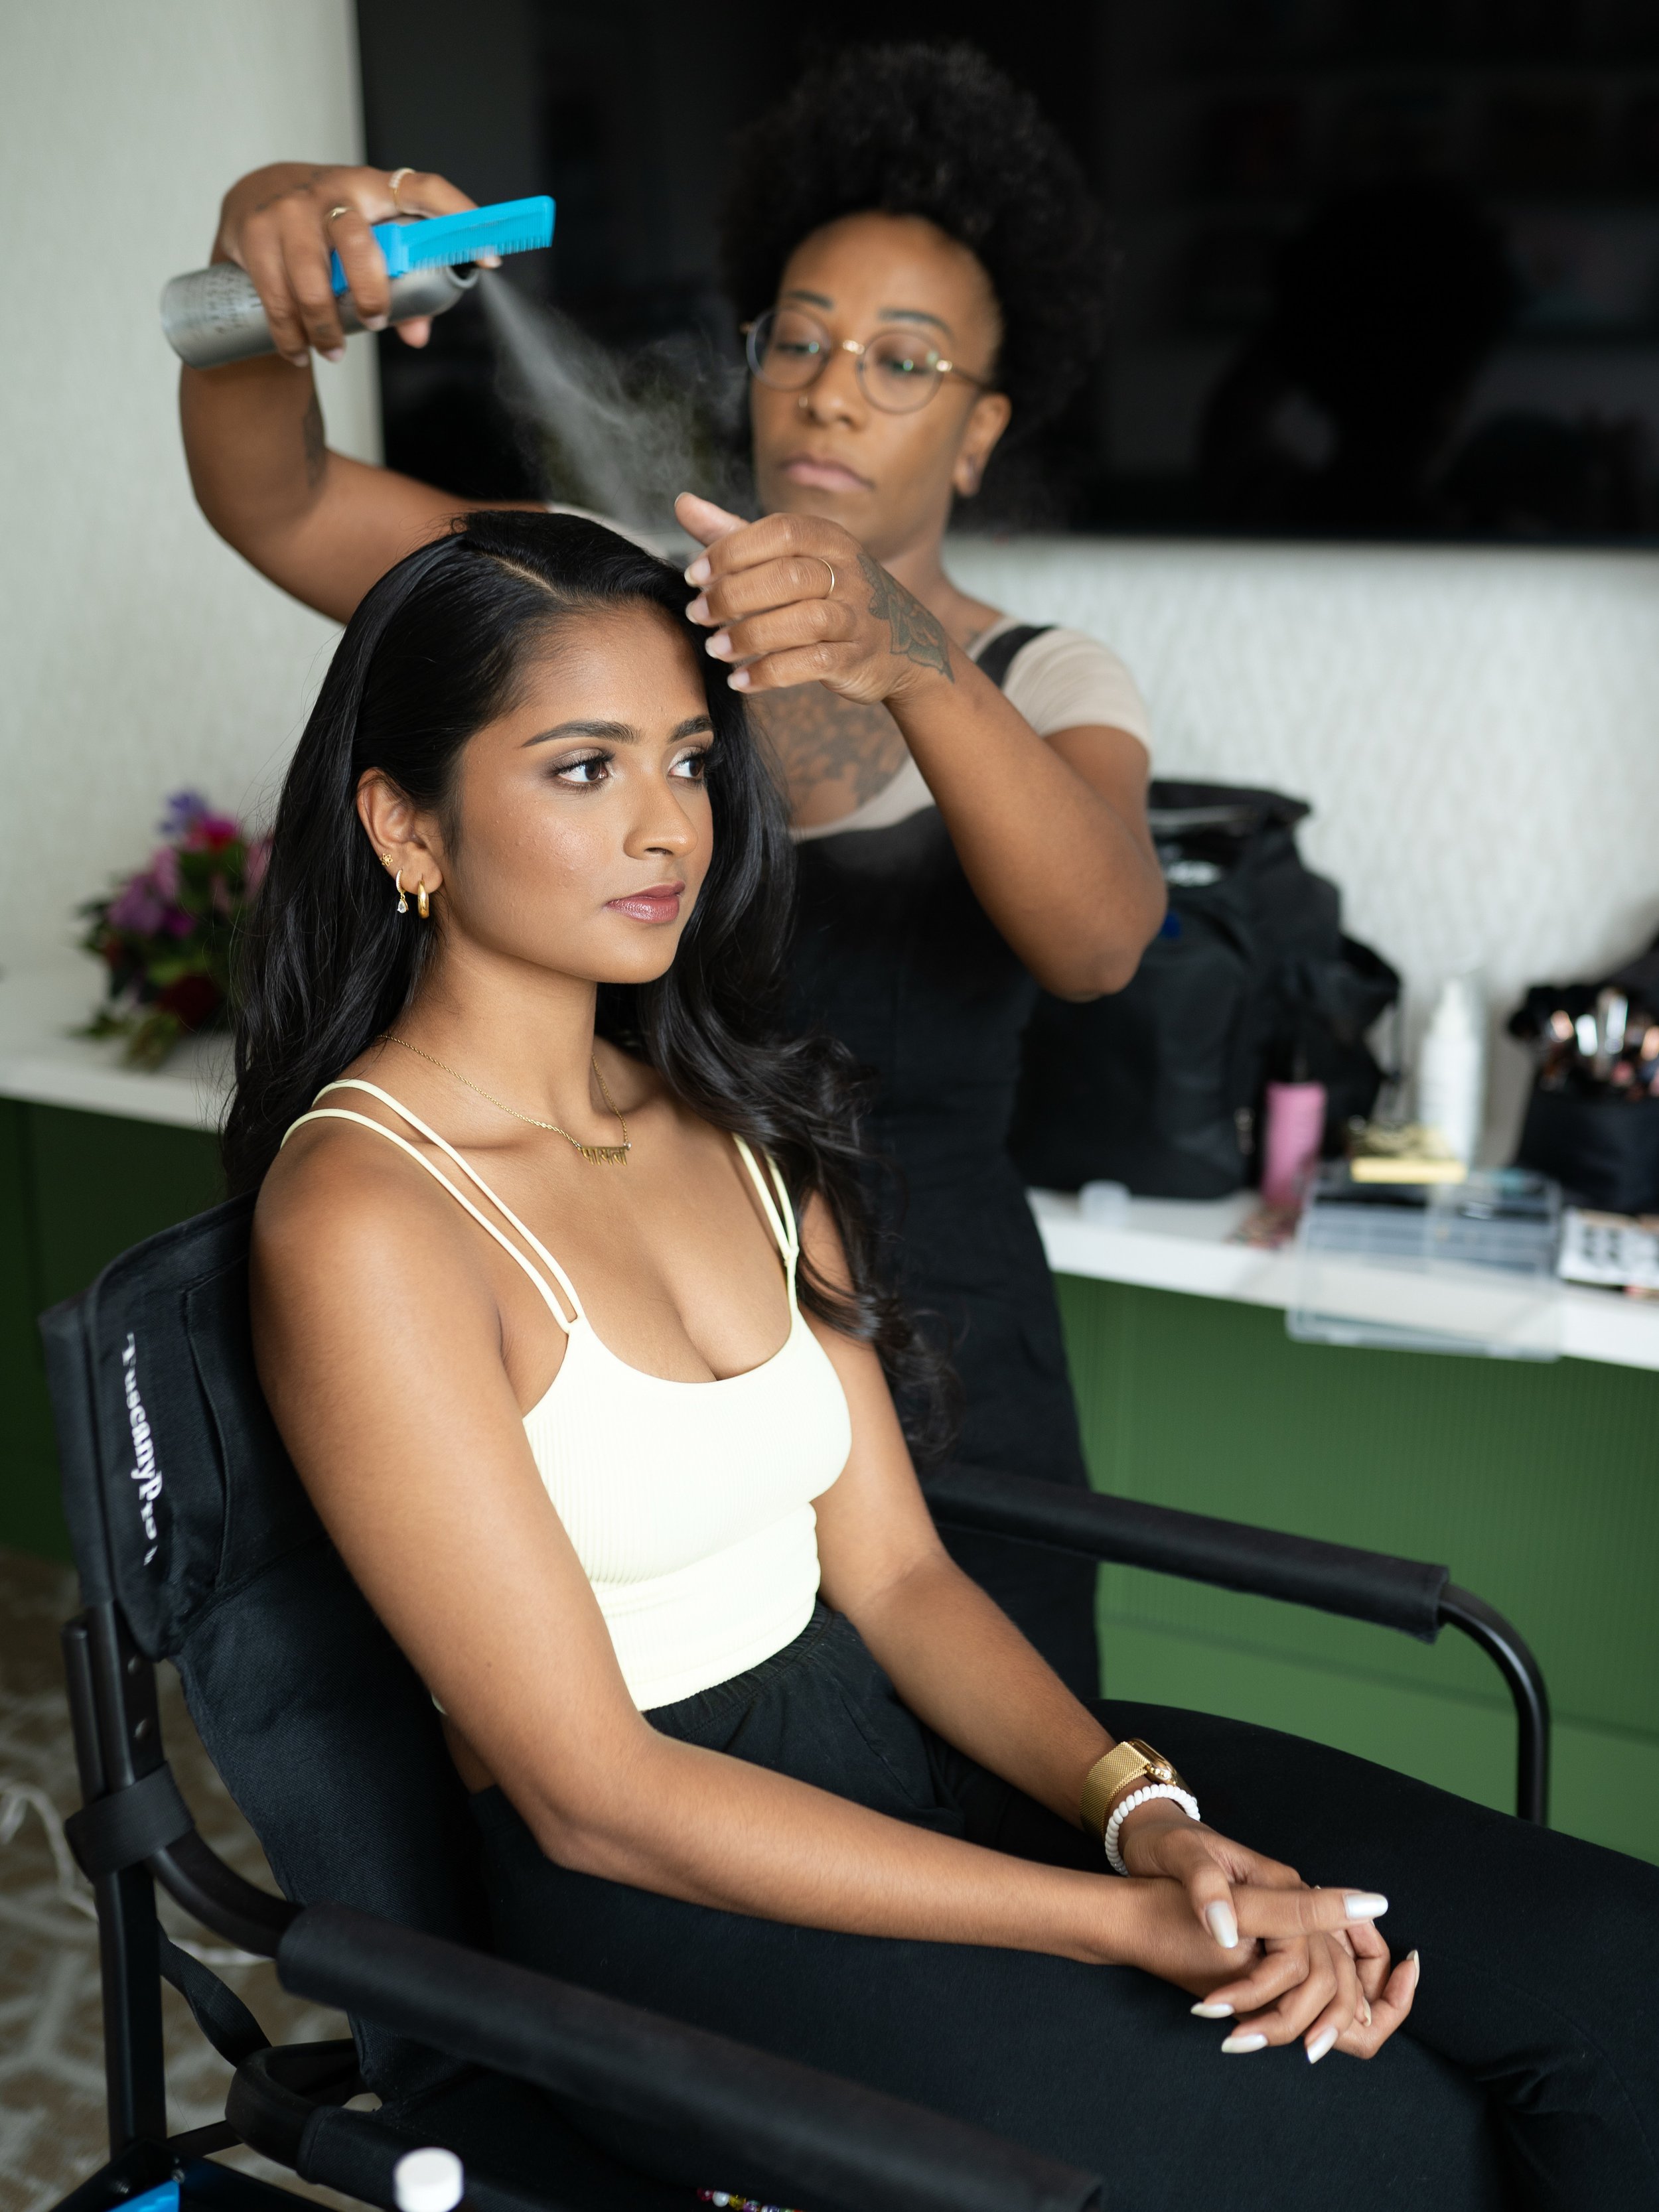
A hair artist will ensure your hair looks great in photos AND continues looking great. A hair artist will use professional products and techniques that keep your hair from completely faltering in humidity, heat, wind, and constant movement. They pay attention to detail, add volume, movement, and take their time with your hair to ensure a flawless finish. The first sign you definitely should hire a hair artist is that you don’t own or know how to use a curling iron or hairspray!Now you know all the secrets…well, kind-of…if I addressed everything I’d have to write a book lol These are great starting points if a professional is just out of your budget. Like I always say, if you go eat at a restaurant, you should expect to tip your server…just like if you splurge on professional photos, you should be prepared to hire someone to make you look like you’re taking professional photos ;)